
RUOMEI / BUYER’S GUIDE
Ultra-Thin Light Boxes: Check the Body Depth and the Installed Projection
If the light box must fit a shallow display or stay close to a wall, ask for more than a “thin” product description. Confirm the body depth, the final projection after mounting, and where the power parts will sit. RUOMEI reviews ultra-thin acrylic light box directions against the artwork, size and installation requirements.
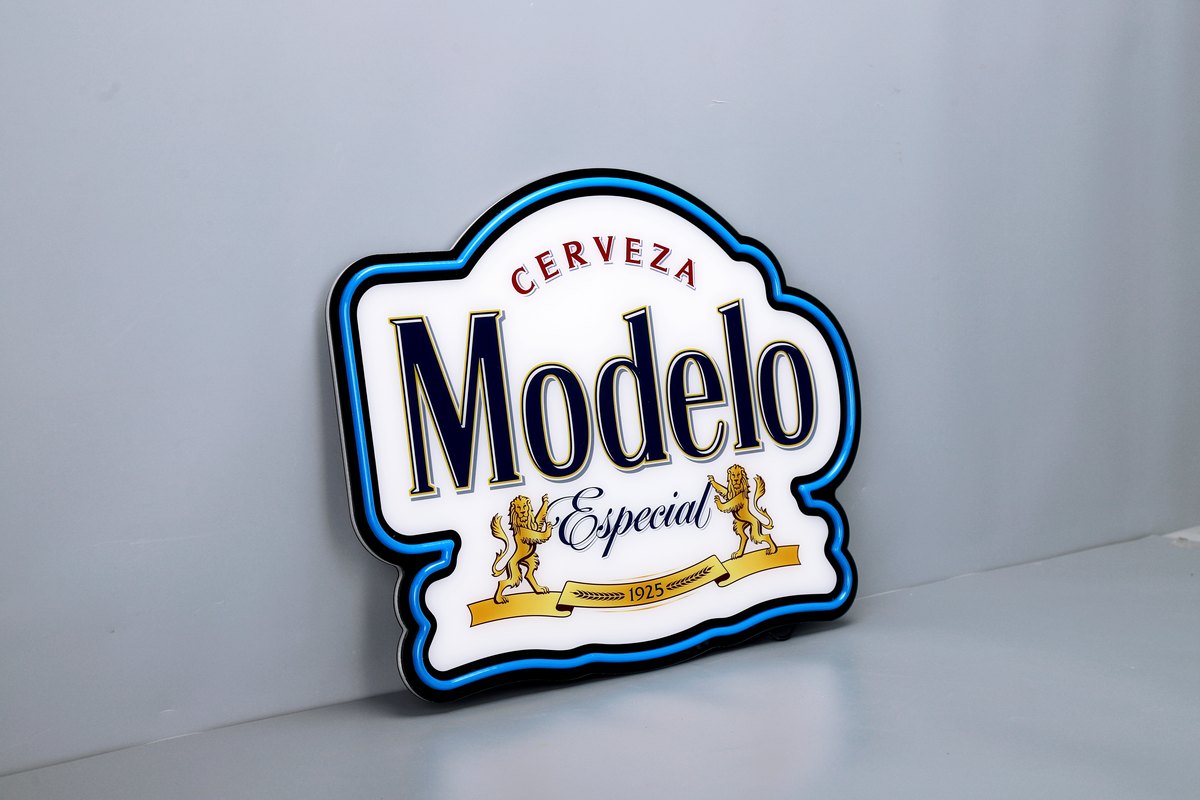
Real light box reference from the ultra-thin product material set. The front view does not establish its depth or installed clearance. Use a dimensioned side view for the proposed order.
1. Agree what the depth measurement includes
Ask for a side-view drawing and identify the two surfaces used for the body-depth measurement. Check whether raised graphics, front details or rear fittings sit outside those surfaces. A single number without that definition can leave the overall product deeper than expected.
RUOMEI does not use a universal thickness promise for every ultra-thin light box. The artwork, dimensions, structure, lighting and packing requirements need to be reviewed together before the proposed depth is approved.
2. Separate body depth from installed projection
For a wall-mounted display, ask how far the frontmost part of the installed product will sit from the wall. That is the installed projection to check against your site limit. Mounting parts or a required rear space may affect it.
| Measurement or space | What to identify |
|---|---|
| Body depth | The front and rear surfaces used on the product drawing. |
| Installed projection | The wall-to-frontmost distance with the agreed mounting arrangement. |
| Rear clearance | Any space needed behind the body for the proposed fitting or cable route. |
| Separate power parts | Where they sit and the space they need, if applicable. |
Ask the supplier to label these items separately. Do not treat the body measurement as an automatic statement of the installed wall-to-front distance.
3. Send the actual opening and side restrictions
If the sign sits in a display fixture, send the usable opening, available depth and nearby obstructions. State whether the light box may project beyond the front of the fixture or must sit within it. Include the front artwork size as a separate dimension.
A photograph helps explain the setting, but it does not replace the measurements. Mark any trim, shelf, door or neighbouring graphic that limits positioning. If the fixture is still being designed, identify which dimensions are fixed and which can change.
4. Include the power and cable arrangement
Ask where the power supply will be located in the proposed configuration and where the cable exits the light box. If any parts sit separately, show their intended position in the installation plan. Do not assume that every electrical component fits inside the visible slim body.
Also identify how the cable reaches the available power position. The plug, switch and cable route are project details to confirm. Do not create a recess or conceal parts on the basis of a generic catalogue image.
5. Review the sample from the side as well as the front
Check the sample against the approved side-view dimensions and mounting arrangement. Review any front projections, rear fittings and separate power parts with the proposed installation. If fit is critical, agree what needs to be measured and recorded before production.
A successful front appearance does not settle the depth question. If a later change affects the face, support or electrical configuration, ask whether the side profile and installed space must be reviewed again.
6. Send the depth limit with your enquiry
Start with your logo or reference image, front size and quantity. Add the available depth, whether that limit applies to the body or the complete installation, and a photo or sketch of the display space.
Review our custom LED light box options, then use the form below. Ask for a proposed side view showing the product and its mounting, rather than selecting a construction from the word “ultra-thin” alone.
FROM YOUR BRIEF TO THE NEXT STEP
Send us what you have so far.
A logo or reference photo, size and quantity will get us started. Include any questions about the design or installation.
Tell us about your project
Use the message field to describe your artwork and requirements.