
RUOMEI / BUYER’S GUIDE
Countertop Neon Displays: Confirm the Space for the Base, Not Just the Logo
A logo can fit your counter and still leave no useful space for its base or cable. For a tabletop neon project, review the complete display in its intended position: graphic, support, overall height and the space it occupies on the counter. Send a site photo or sketch along with the artwork.
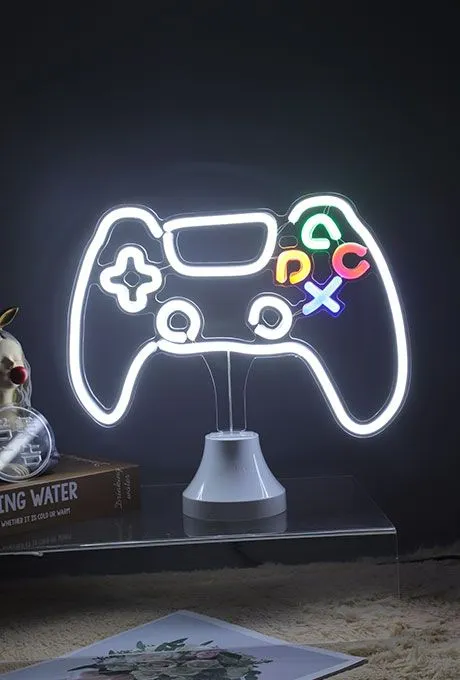
Real tabletop product example with a visible base. It illustrates the difference between graphic size and the complete display; no dimensions, stability rating or power specification can be inferred from the photograph.
1. Separate the graphic size from the overall size
Label the width and height of the artwork, then ask for the overall display dimensions, including any support and base. Include the available counter depth. A sign described only by its logo width leaves the installer guessing how much surface space the finished product needs.
RUOMEI can review tabletop and freestanding neon forms by project. The base and support are part of that review, not standard accessories whose dimensions can be assumed from a reference image.
2. Show the space around it
Send a counter photo or simple plan that includes nearby merchandise, payment equipment and the staff working area. Mark where customers stand and any area that must remain clear. If the sign sits inside another display, give the available opening and depth rather than only the outer cabinet dimensions.
| Dimension or condition | What to show in the brief |
|---|---|
| Graphic width and height | The logo area, separate from its base. |
| Overall height | Space available for graphic, support and base together. |
| Counter footprint | Usable width and depth, with neighbouring items marked. |
| Clear space | Areas required for customer access, staff work or equipment. |
3. Choose the viewing direction before the finish
Say whether the display is seen mainly from the front or whether customers will also see its sides and back. A front photograph cannot tell you how rear wiring or supports will look on an open counter. Ask for the relevant views on the approval drawing.
If you need a message readable from both sides, state that as a separate requirement for review. Do not assume that a clear backboard or a tabletop base creates a double-sided display. For a chain rollout, identify any locations with a different viewing arrangement.
4. Review the support and cable route together
Tell us whether the display will remain in one position or be moved regularly, and whether customers can reach it. Ask how the proposed support suits that use. Where a retention method is needed, agree it for the counter and sign construction rather than improvising after delivery.
Mark where power is available and where the lead can run without taking up the working space. Confirm the cable exit and supplied power configuration in the same drawing or specification. A tabletop format does not establish battery operation or a universal cable length.
5. Put the sample in the intended position
Review a sample that represents the intended size, lighting, support and packaging. Check its full footprint on the planned counter, the viewing angle and the rear appearance. Include the cable and power parts when judging how much space is left.
Keep the approved drawing and sample notes together. If one store uses a narrow shelf and another uses a deep counter, flag that difference before treating one sample as approval for every location. Any change to the support, size or installation should be reviewed for that version.
6. Send a brief that includes the counter
Start with vector artwork where available, the target graphic size and quantity. Add a counter photo, usable surface dimensions, viewing direction and power position. If the counter details are not final, identify the limits you know and we can start the discussion from those.
Review our silicone LED neon examples or custom neon construction options, then use the form below. Ask for the overall dimensions and proposed support to be shown with the artwork before sample approval.
FROM YOUR BRIEF TO THE NEXT STEP
Send us what you have so far.
A logo or reference photo, size and quantity will get us started. Include any questions about the design or installation.

Tell us about your project
Use the message field to describe your artwork and requirements.